Introduction
Creating a board game prototype can be an extremely rewarding and exciting experience. Many classic board games such as Monopoly, Catan, and Scrabble all started out as prototypes, crafted by their dedicated designers and perfected after extensive testing. These designers often start with pen-and-paper sketches of basic gameplay mechanics and then create successive iterations on cardstock or cardboard to start testing. With each version of their prototype, the game is modified to better meet the needs of its intended player base by inviting playtesters to help balance the elements of it. Through trial and error, tweaks are made until the game is finally balanced for optimal fun for everyone who plays. If all goes well, this culminates in a successful board game that’s ready to be put into production!
Gather Supplies
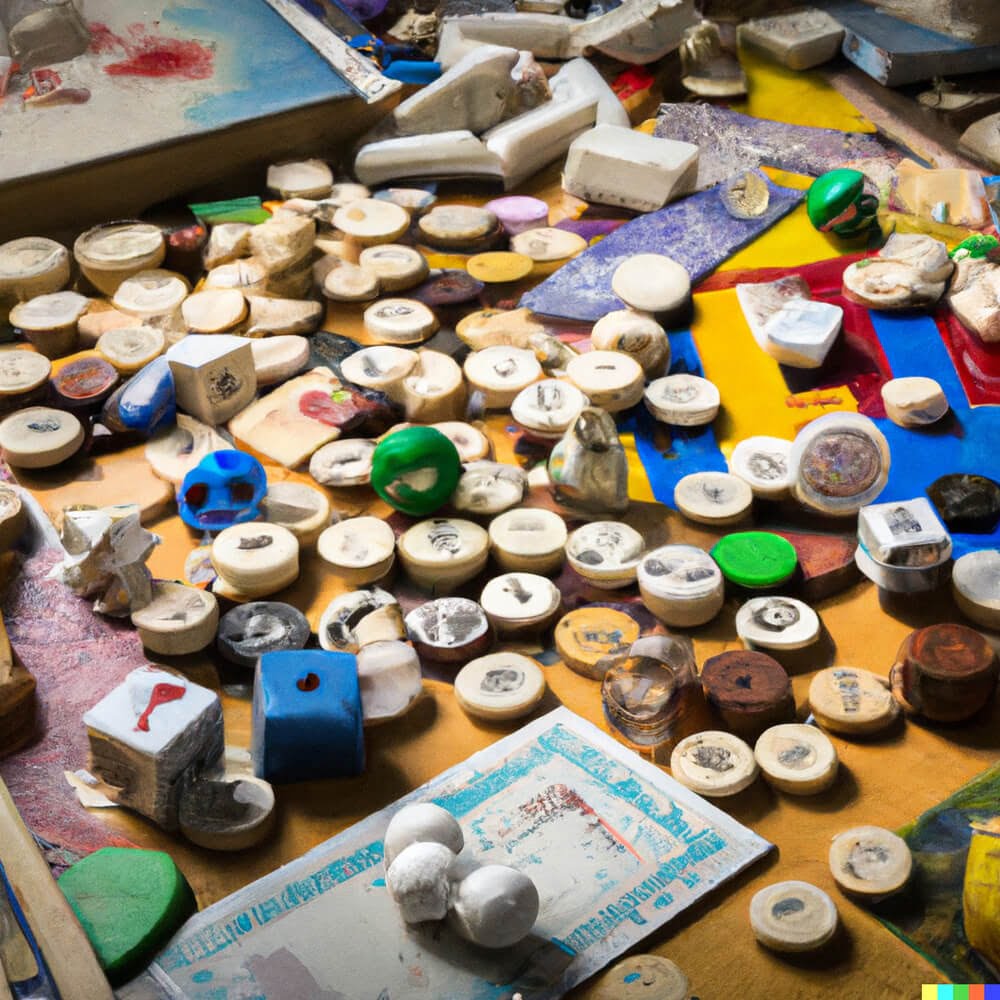
Making a board game prototype does not have to be expensive. You can easily repurpose household materials or save money by using inexpensive alternatives for game pieces and components. For example, use recycled cardboard and paper for your boards and cards. Create game pieces using bottle caps, straws, or coins. You can also cut pieces from old fabric or take advantage of the adhesive backing of Velcro pieces to make them easier to move around the board. Cheap and lightweight packaging foam can be used to make cubes, pawns, and dice; while old candy boxes can be used as card holders in exchange for purchasing expensive component trays. A few supplies such as self-adhesive laminates, colorful card stock and mod podge medium can be found at any craft store.
Preparing the Board
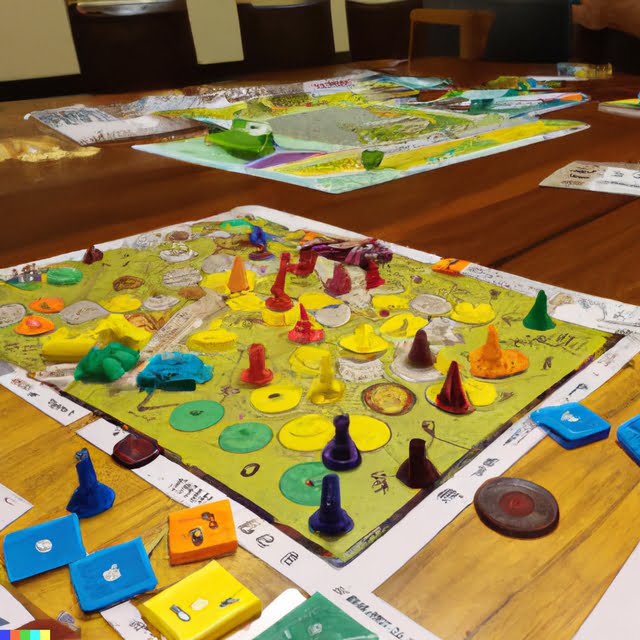
Making a board game prototype requires careful planning and execution. In order to produce a professional-looking board for testing, some items will be needed. Basic supplies include scissors, markers, poster paper or cardboard, graph paper, and a glue stick.
When preparing the board, it’s important to decide on a theme and style beforehand to create something cohesive. Measure out graph paper with your desired dimensions and use it as your template for the board. Using this template, trace the design of your board on poster paper or cardboard, ensuring that all edges are straight. Be sure to include any realistic features such as mountains or seas in the tracing process. Cut out the traced shape from the material but leave an extra inch so you will have room for adhesive later on.
Use markers to draw lines for paths between landmarks on the board, as well as any text or images necessary for game play purposes and aesthetics. For example, when creating a game based on classic European cities you can draw icons representing different types of attractions within each city such as museums or cafes; images of local food or animals representative of certain areas; labels outlining key locations; numbers representing points earned per destination; et cetera. You do not need to completely finish decoration at this stage ” simply add sufficient details required to demo your game’s concept.
Once finished drawing paths and icons onto your board prototype, attach all pieces together utilizing glue along the edges previously left free (do not put too much glue here so that you don’t over-run ink). Make sure to press down firmly until all parts are securely attached together before allowing time for everything to dry
Rules & Mechanics
Testing for balance and fairness when it comes to game mechanics and rules is an essential part of creating a board game prototype. This ensures that all players are being given an equal chance to win, regardless of starting position or strategy. Balance and fairness can be tested by setting up the game with various combinations of materials, playing with different numbers of players, using different starting positions, and measuring the outcome after each round. Measuring the outcome through both quantitative results (e.g., count how many times each player won) as well as qualitative results (e.g., ask players for feedback on how fair they felt the game was) can help determine if game balance needs to be adjusted before continuing to develop the prototype further.
Game Pieces
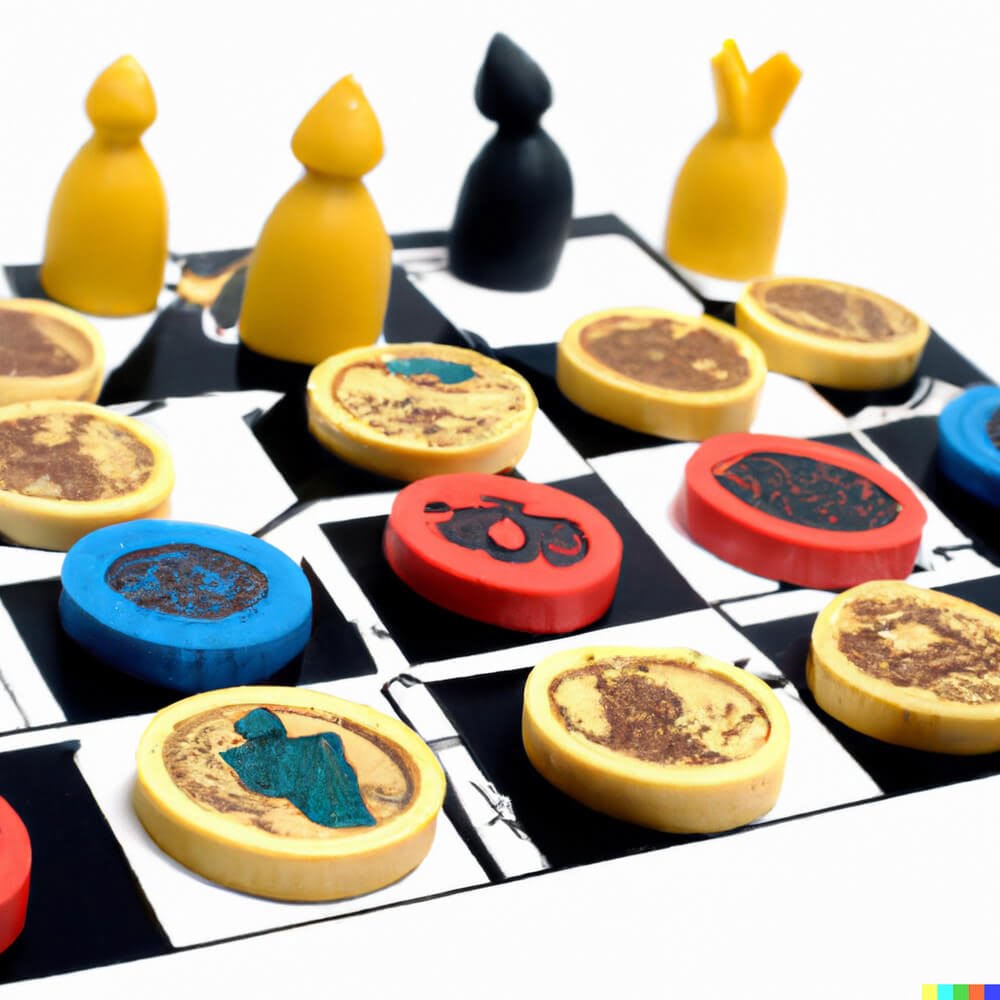
Creating the game pieces is an important step in making a board game prototype. For those who have the necessary supplies to make them, there are several tutorials online for creating your own game pieces. You can find templates for all sorts of game pieces such as meeples, cubes, cards, standees, and pawns. If you don’t want to make all the pieces from scratch, you can purchase a variety of options from online stores like Amazon or MeepleSource. Popular materials for homemade game pieces include cardboard that has been cut into shapes and colored paper that has been laminated. Alternatively, there are sites such as The Game Crafter where people can upload their own designs and order custom-made game pieces in whatever material they prefer. Whatever path you take when selecting components to create your prototype make sure they meet your requirements in terms of material type and size since not every piece will work on every game board.
Playtesting Your Prototype
Questions to ask your playtesters should include:
1. How did you feel while playing the game?
2. Was it easy to understand the gameplay and rules?
3. Did it feel natural or comfortable to move pieces around the board?
4. Were there any confusing moments during the game where you had to look up rules or explanations?
5. What do you think of the overall design and components of the game?
6. Was there a strategy that felt advantageous or overpowering?
7. Would you recommend this game to anyone else or suggest any changes or additions?
8. Generally speaking, did you enjoy playing this game?
Revising the Prototype
Saving and storing versions of the prototype game should be done in a system that will allow for easily reverting back to earlier versions whenever needed. A version control system, such as versioning digitally or using written notes, can ensure tracking changes from one version to another is simple. It is also important to document these changes in a separate game journal with detailed descriptions on what changed between versions. This will allow for an easier analysis of how each new version made a difference for playtesters. Additionally, it is helpful to have each subsequent version labeled so that playtesters can refer to the specific iteration they’ve tested.
In terms of keeping track of information on who has tested which version, either a dedicated software system or spreadsheet can be used to store important data (player feedback, scores, duration of playtime, etc.). This process makes it easier to analyze all the various playtests performed and provide better insight into where each prototype stands in terms of improvement and usability.
Conclusion
Making a board game prototype can be time consuming and overwhelming. But, it is also very satisfying when you put the final touches on your game and are proud of what you have produced. Here are a few tips that may help along the way:
1. Research other popular games- Before you jump into creating your own, take some time to research other popular games of similarity. This will help you get some ideas and inspiration for your own game. It is best not to copy another game’s design but instead use the knowledge you gain through research to innovate on the current idea.
2. Make a clear plan- Have an idea of what your objectives are for each step of the process before beginning your prototype. Set timelines for various tasks, such as writing rules and creating components, so that you stay on track and don’t become overwhelmed during development.
3. Choose your materials- As you create prototypes it’s important to remember that what works in one version may not work in others, depending on how the game mechanics operate and how serious it is intended to be taken (or how many times it needs revision). If possible use cheap materials such as card stock or paper at first for prototypes, using more durable components for later versions once play testing has been completed and revisions made after feedback received from alpha testers.
4. Analyze/review data- Once playtesting has begun gather feedback from each session with gathered data that tracks successes, failures, difficulty etc. Use this information while revising towards a final product; making sure to track changes so new versions can be tested effectively in comparison with each other .
5. Get feedback from others- Gather test groups or friends who will playtest your game thoroughly honestly then listen carefully to their critiques and adjust accordingly as needed – allowing objectives of the design intent remain intact if possible when making revisions based on feedback received .
In conclusion, there are many elements involved in developing a board game prototype successfully, such as researching existing popular games, having a clear plan before beginning development , choosing appropriate materials depending on type of game being played , analyzing data collected during playtesting sessions , gathering feedback from players and making revisions appropriately according to objectives intended by design of the game . There are several resources available online where makers can find additional information regarding tabletop game development such as Board Game Geek (www.boardgamegeek) , Google Drive Apps (www prototyping boardgames) & Games Crafter (wwwgamescrafter) which could provide assistance when designing a new boardgame prototype .

I love playing all kinds of games – from classics like Monopoly to modern favourites like Ticket to Ride.
I created this blog as a way to share my love of board games with others, and provide information on the latest releases and news in the industry.


